Fiber Optic Tapping - Mid-Span Fiber Access
In my last post, I went over the basics of fiber optics, how they work, and how you can tap a fiber. Continuing on, the next step will be to access the fiber inside the cable. Before we get to that though, I feel it would be best to give a brief overview of some of the types of cables you might encounter.
- Simplex
- This cable generally has a single fiber inside and is used for very specific purposes (only send, only receive). However, some configurations allow for a multiplex data signal where you can have bi-directional communication in a single fiber.
- Rip Cord
- This is the type of fiber that you would typically see in a server closet or a data center. It is generally a duplex cable (two fibers, one to transmit, one to receive).
- Distribution
- Another popular cable, this has several fibers inside of one single cable. However, these fibers are not individually reinforced with the strength members (Kevlar fibers) which limits to where this cable can be installed and terminated.
- Breakout
- This cable is similar to a distribution cable where you have several fibers inside a larger single cable, though these fibers are individually reinforced which allows for more flexibility with regard to where it can be installed.
- Loose Tube
- These are more commonly used to support an external trunk of some sort. The internal construction of these cables are widely different as they can be filled with a type of gel that protects the fibers from moisture, though the strength members (Kevlar fibers) can still be present. Another difference in these cables is that the buffer/coating that is typically tightly wrapped around the cladding is now in a “loose buffer” configuration. This means that the fibers are more easily accessible, but also that the cable must be handled very carefully.
- Armored
- Exactly as it sounds, this cable has a layer of metal to prevent animals from penetrating the cable but also to protect against being crushed and cut by hand-powered tools.
The difference between cable types doesn’t stop there. There are different types of fiber cores and each has its own specific purpose.
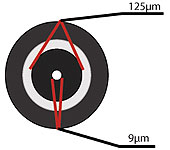
- Single-Mode
- A single-mode cable is typically used for very long distances and high transmission speeds. The internal dimension of the fiber core is much smaller than that of a multimode cable. The fiber core is typically 8-10μm (μm stands for micron), while the cladding is 125μm.
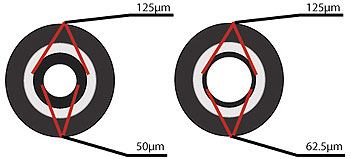
- Multimode
- Multimode cables are found in most data centers and server closets. The fiber core of a multimode cable is normally either 50μm or 62.5μm while the cladding is 125μm, like the single-mode cable.*
I wanted to cover this because it was something that I had to learn when I started and knowing what you're dealing with before you actually get hands on ends up becoming invaluable information.
Now that we know what is inside the cable, let’s dive in. An important thing to note is that these cables are not designed to be accessed mid-span. Meaning, that if you’re cutting into the cable at any point, its assumed that you’re doing so to terminate it and attach an end connector. I made a lot of phone calls to fiber tools companies, fiber network installers and fiber cable manufacturers. No one has a solid method for accessing the fiber mid-span. Luckily, I had some old fiber cables that I got from a friend and was able to do some tests on this before moving onto the newer fiber cable that I had purchased.
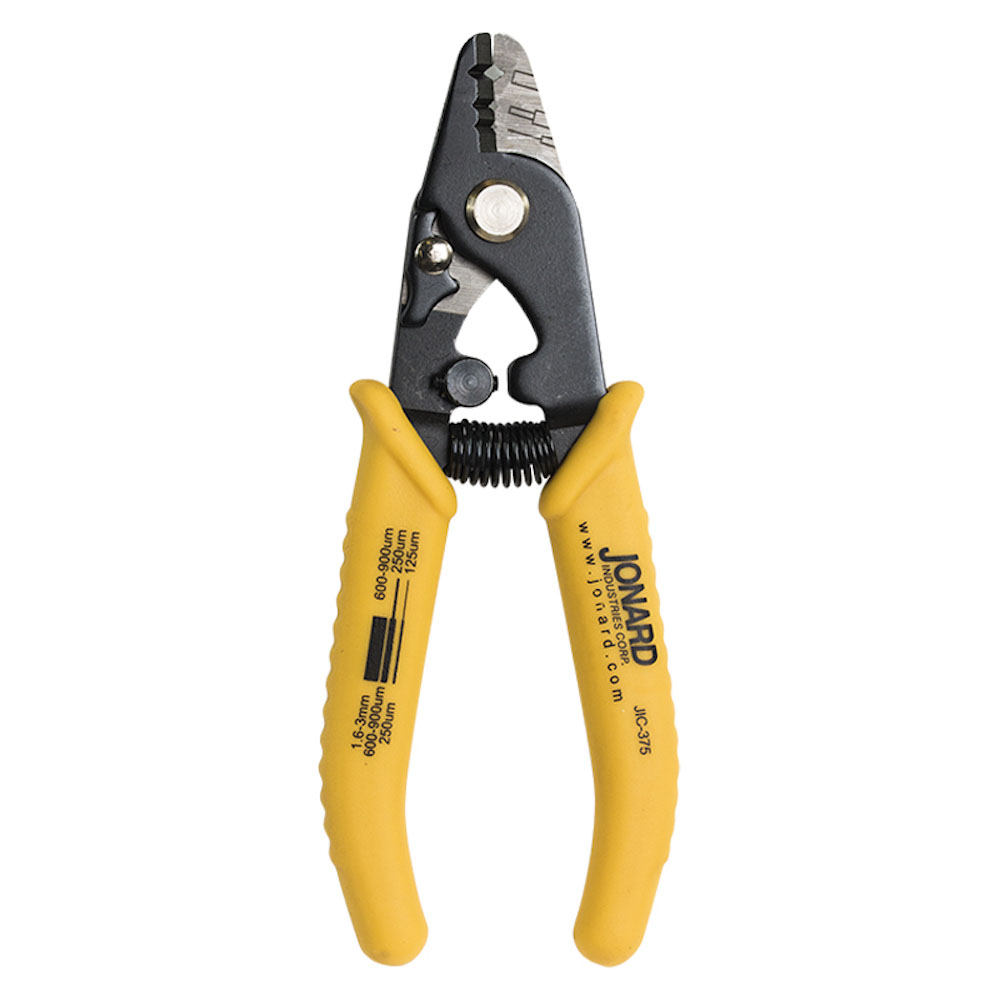
So, how do you get into a fiber cable mid-span? The first thing you will need is a pair of strippers made for handling fiber optics. I purchased a Jonard JIC-375 off of Amazon. This tool has three holes used for the three solid layers of a fiber optic cable. This allows you to make a cut in the outermost jacket, the buffer/coating, and allows you to remove the cladding (which you DO NOT want to do).
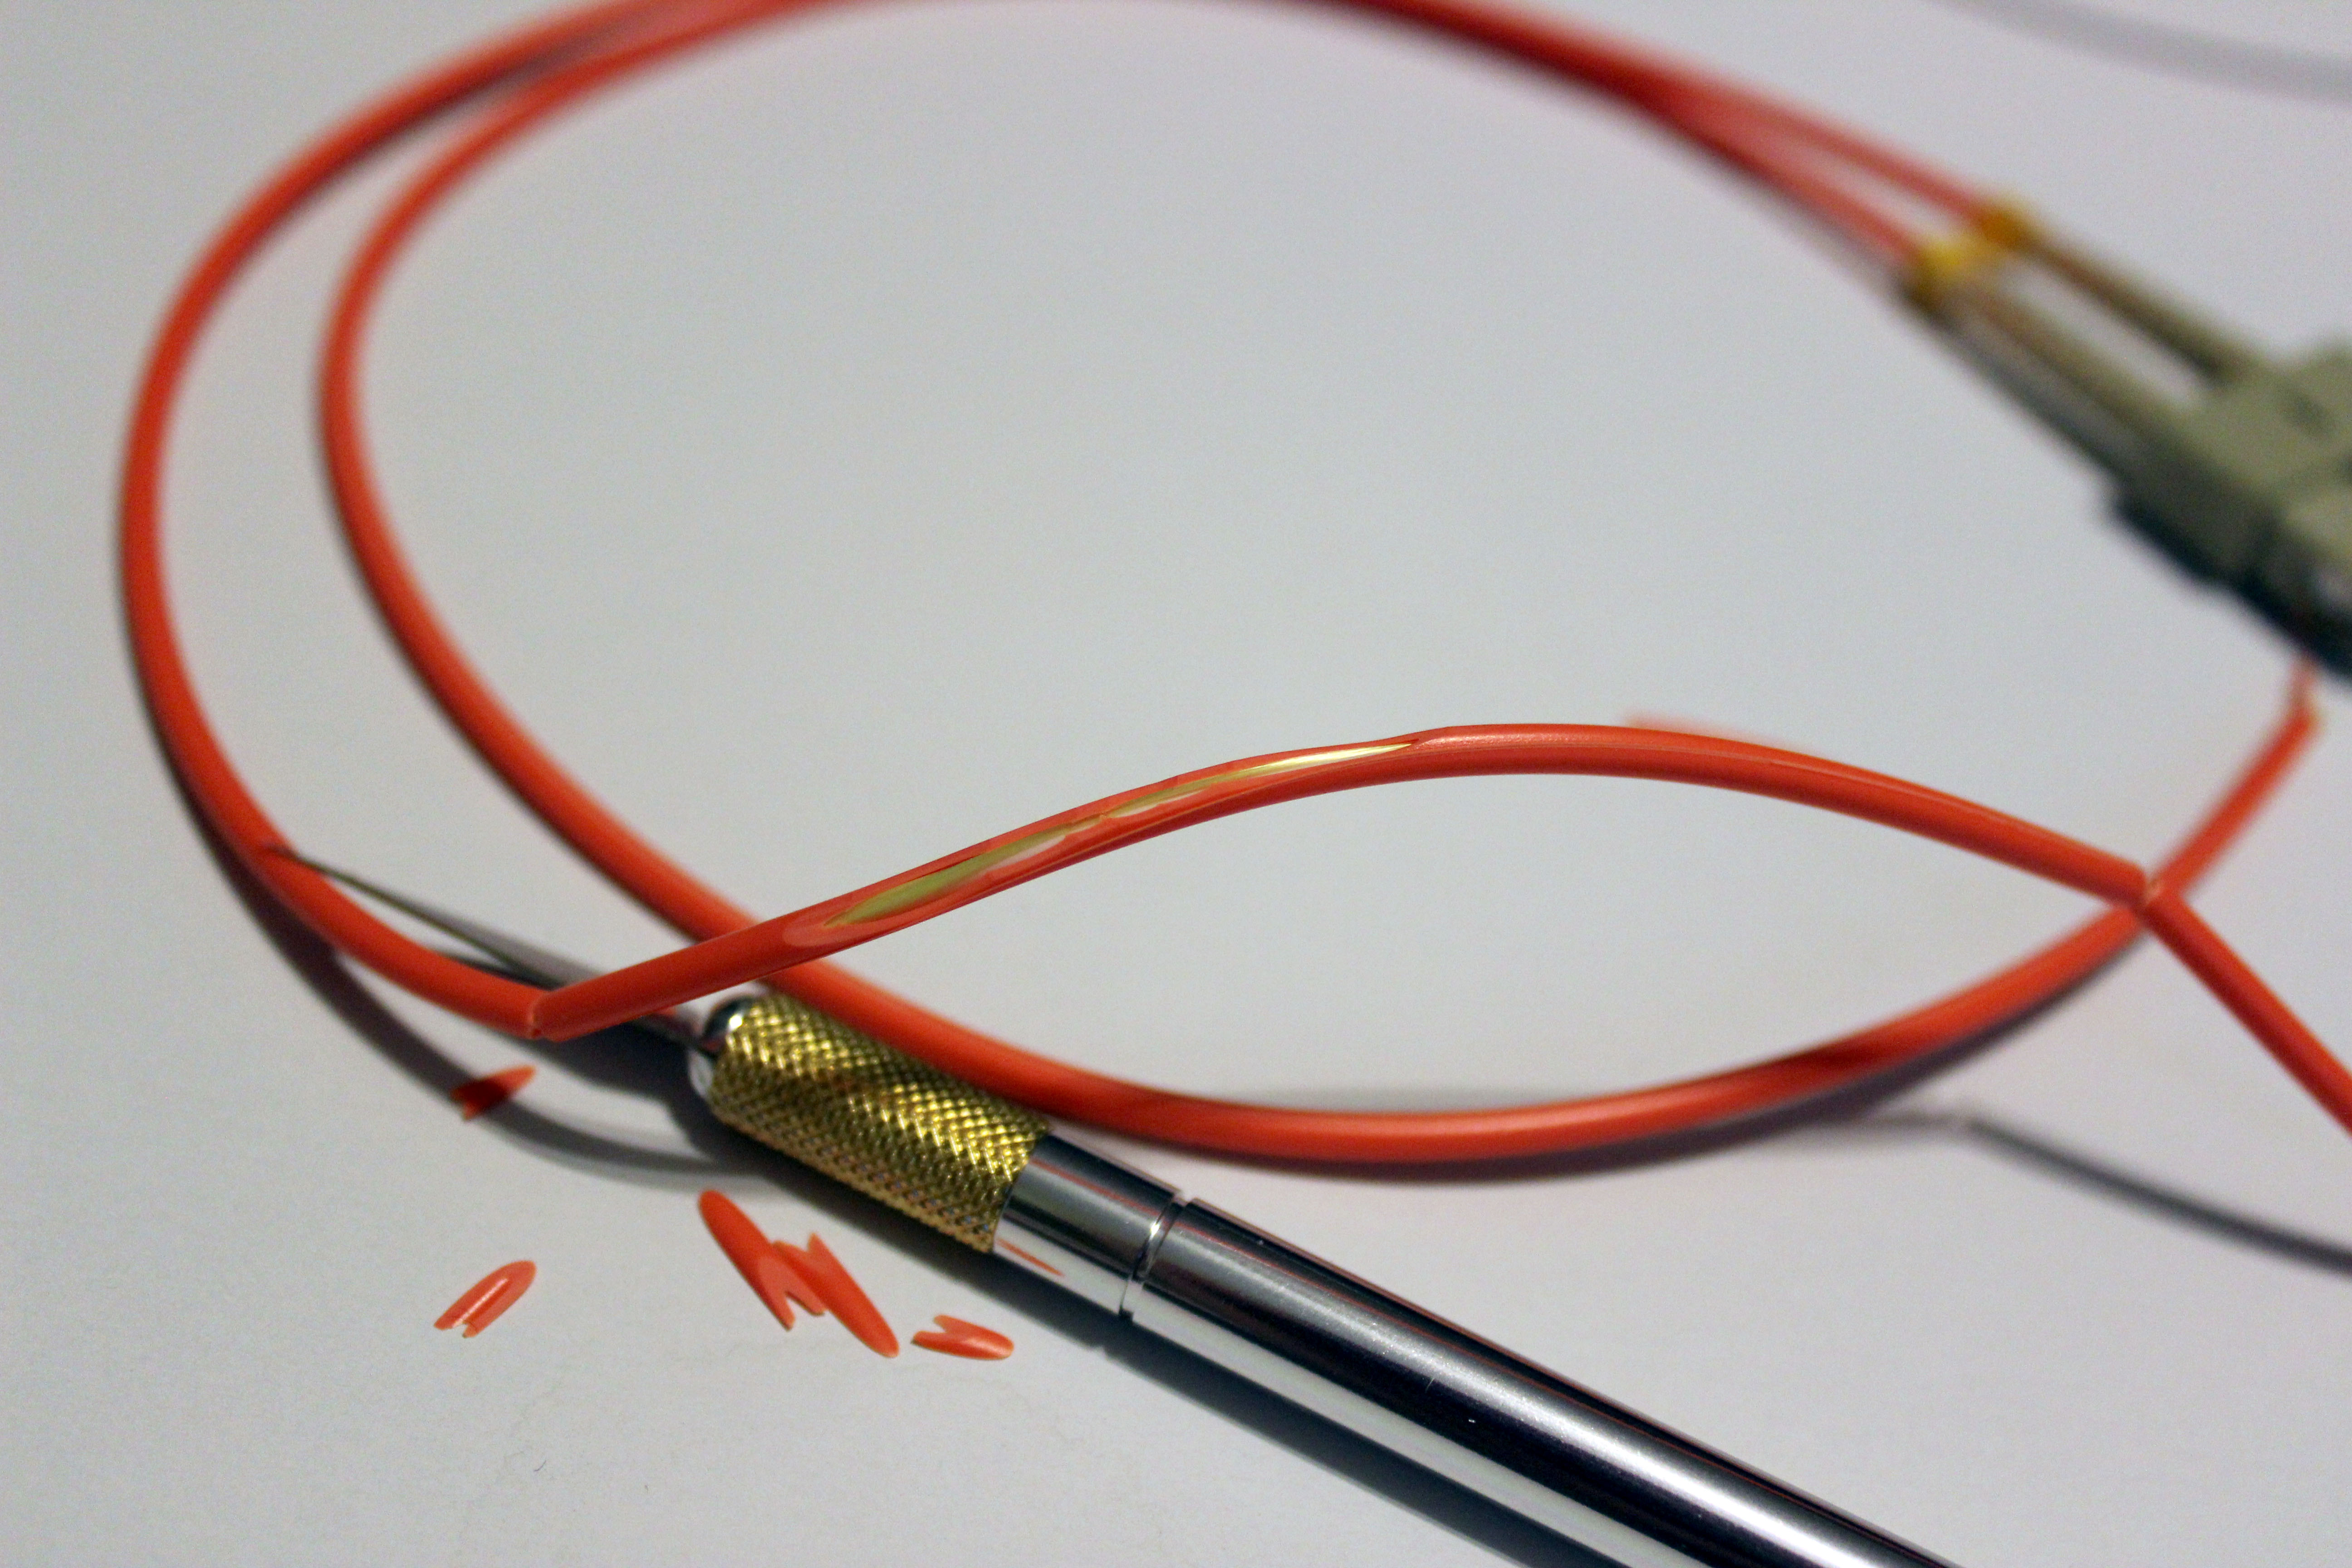
The first step here is to make two cuts in the outer jacket about four inches apart. The purpose here is to remove this section of the jacket. Now, there are specialized tools that will remove this jacket for you much more easily than I am about to show, but these tools can become very expensive, very quickly and my goal was the find the cheapest way possible to accomplish this.

Next, I used a X-ACTO Z-Series knife. I chose this for a couple of reasons. First, it's cheap at $5 USD~ at Amazon or any other normal retailer. Secondly, it's dangerously sharp and since our jacket is made of PVC, we need sharp.

What comes next requires patience and steady hands. Take the X-ACTO knife and carefully peel the PVC jacket away like you were peeling a potato. You want to just take enough off where you can see down into the cable, but not far enough where you could potentially hit the buffer coated fiber inside (though the Kevlar fibers inside may help the blade glide over the buffer depending on the positioning inside the cable (which you have no control over). Do not try to get it all off in one go, chip away at it and be safe, that knife will cut your skin like it’s not even there. (Special thanks to the guy at DEFCON who provided me with a Band-Aid).
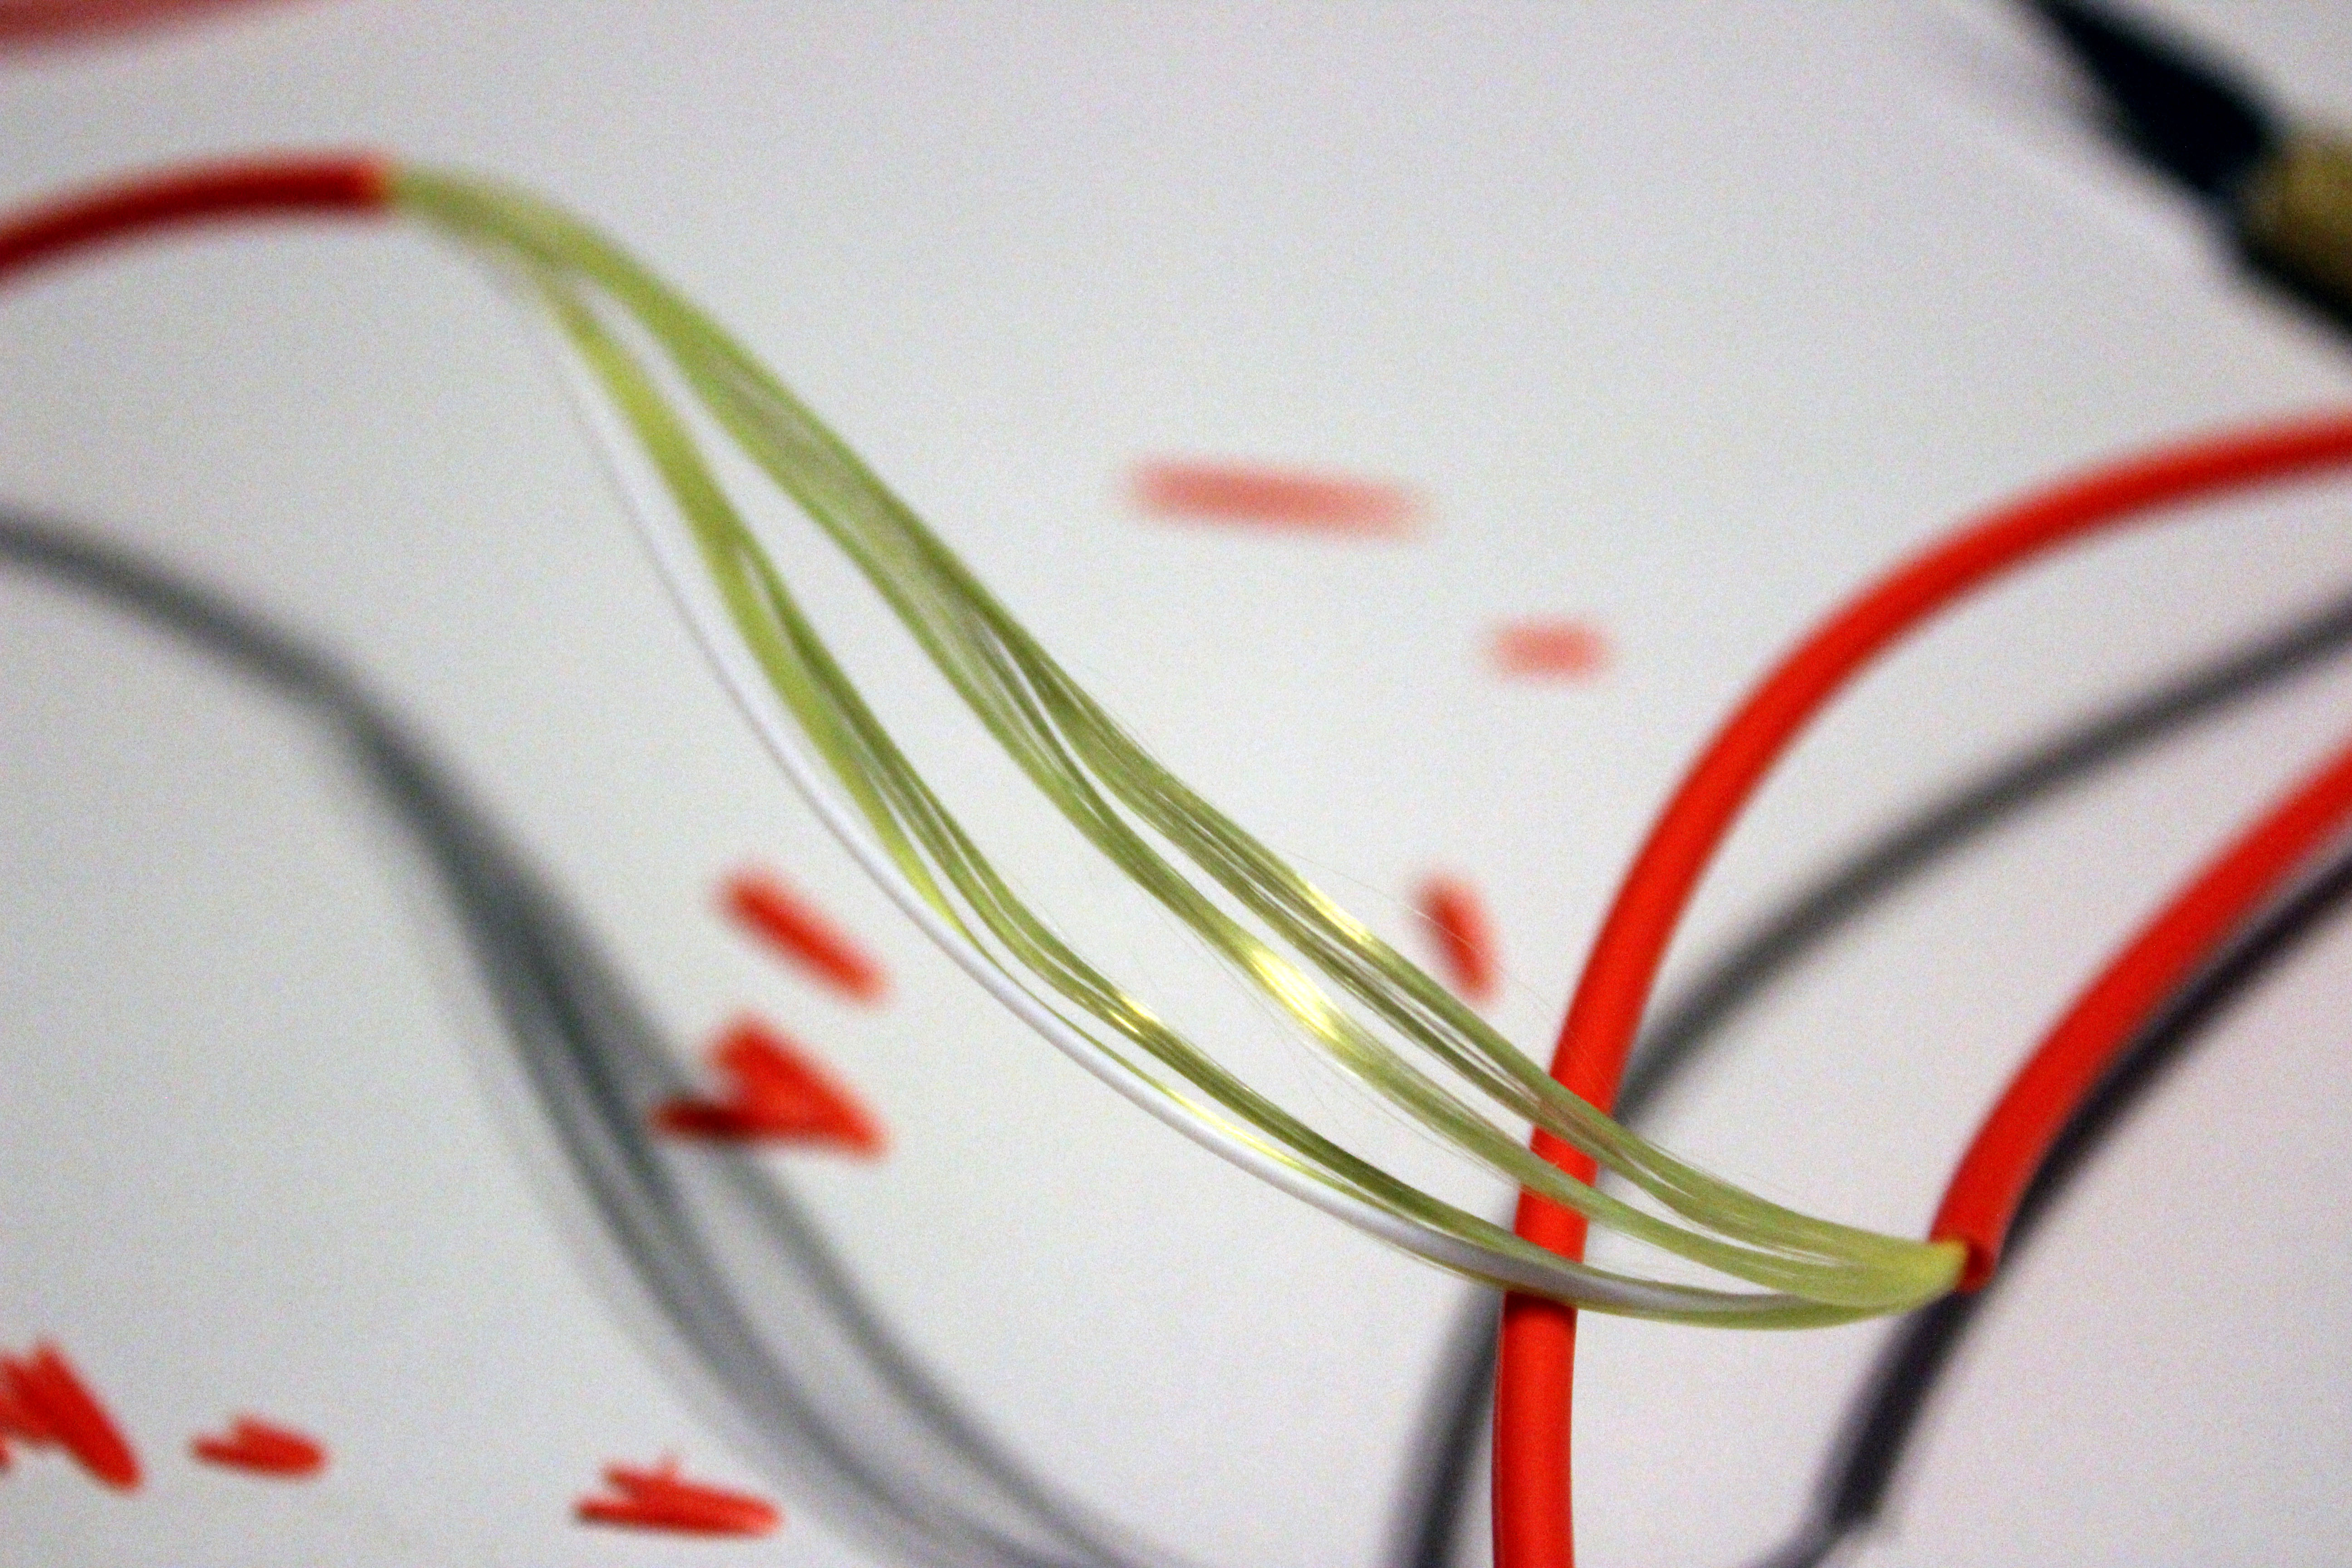
Once you have an open section along where you made your previous cuts, pull the jacket away from the rest of the cable and that will expose the inner Kevlar fibers (strength members) and the buffer coated fiber.
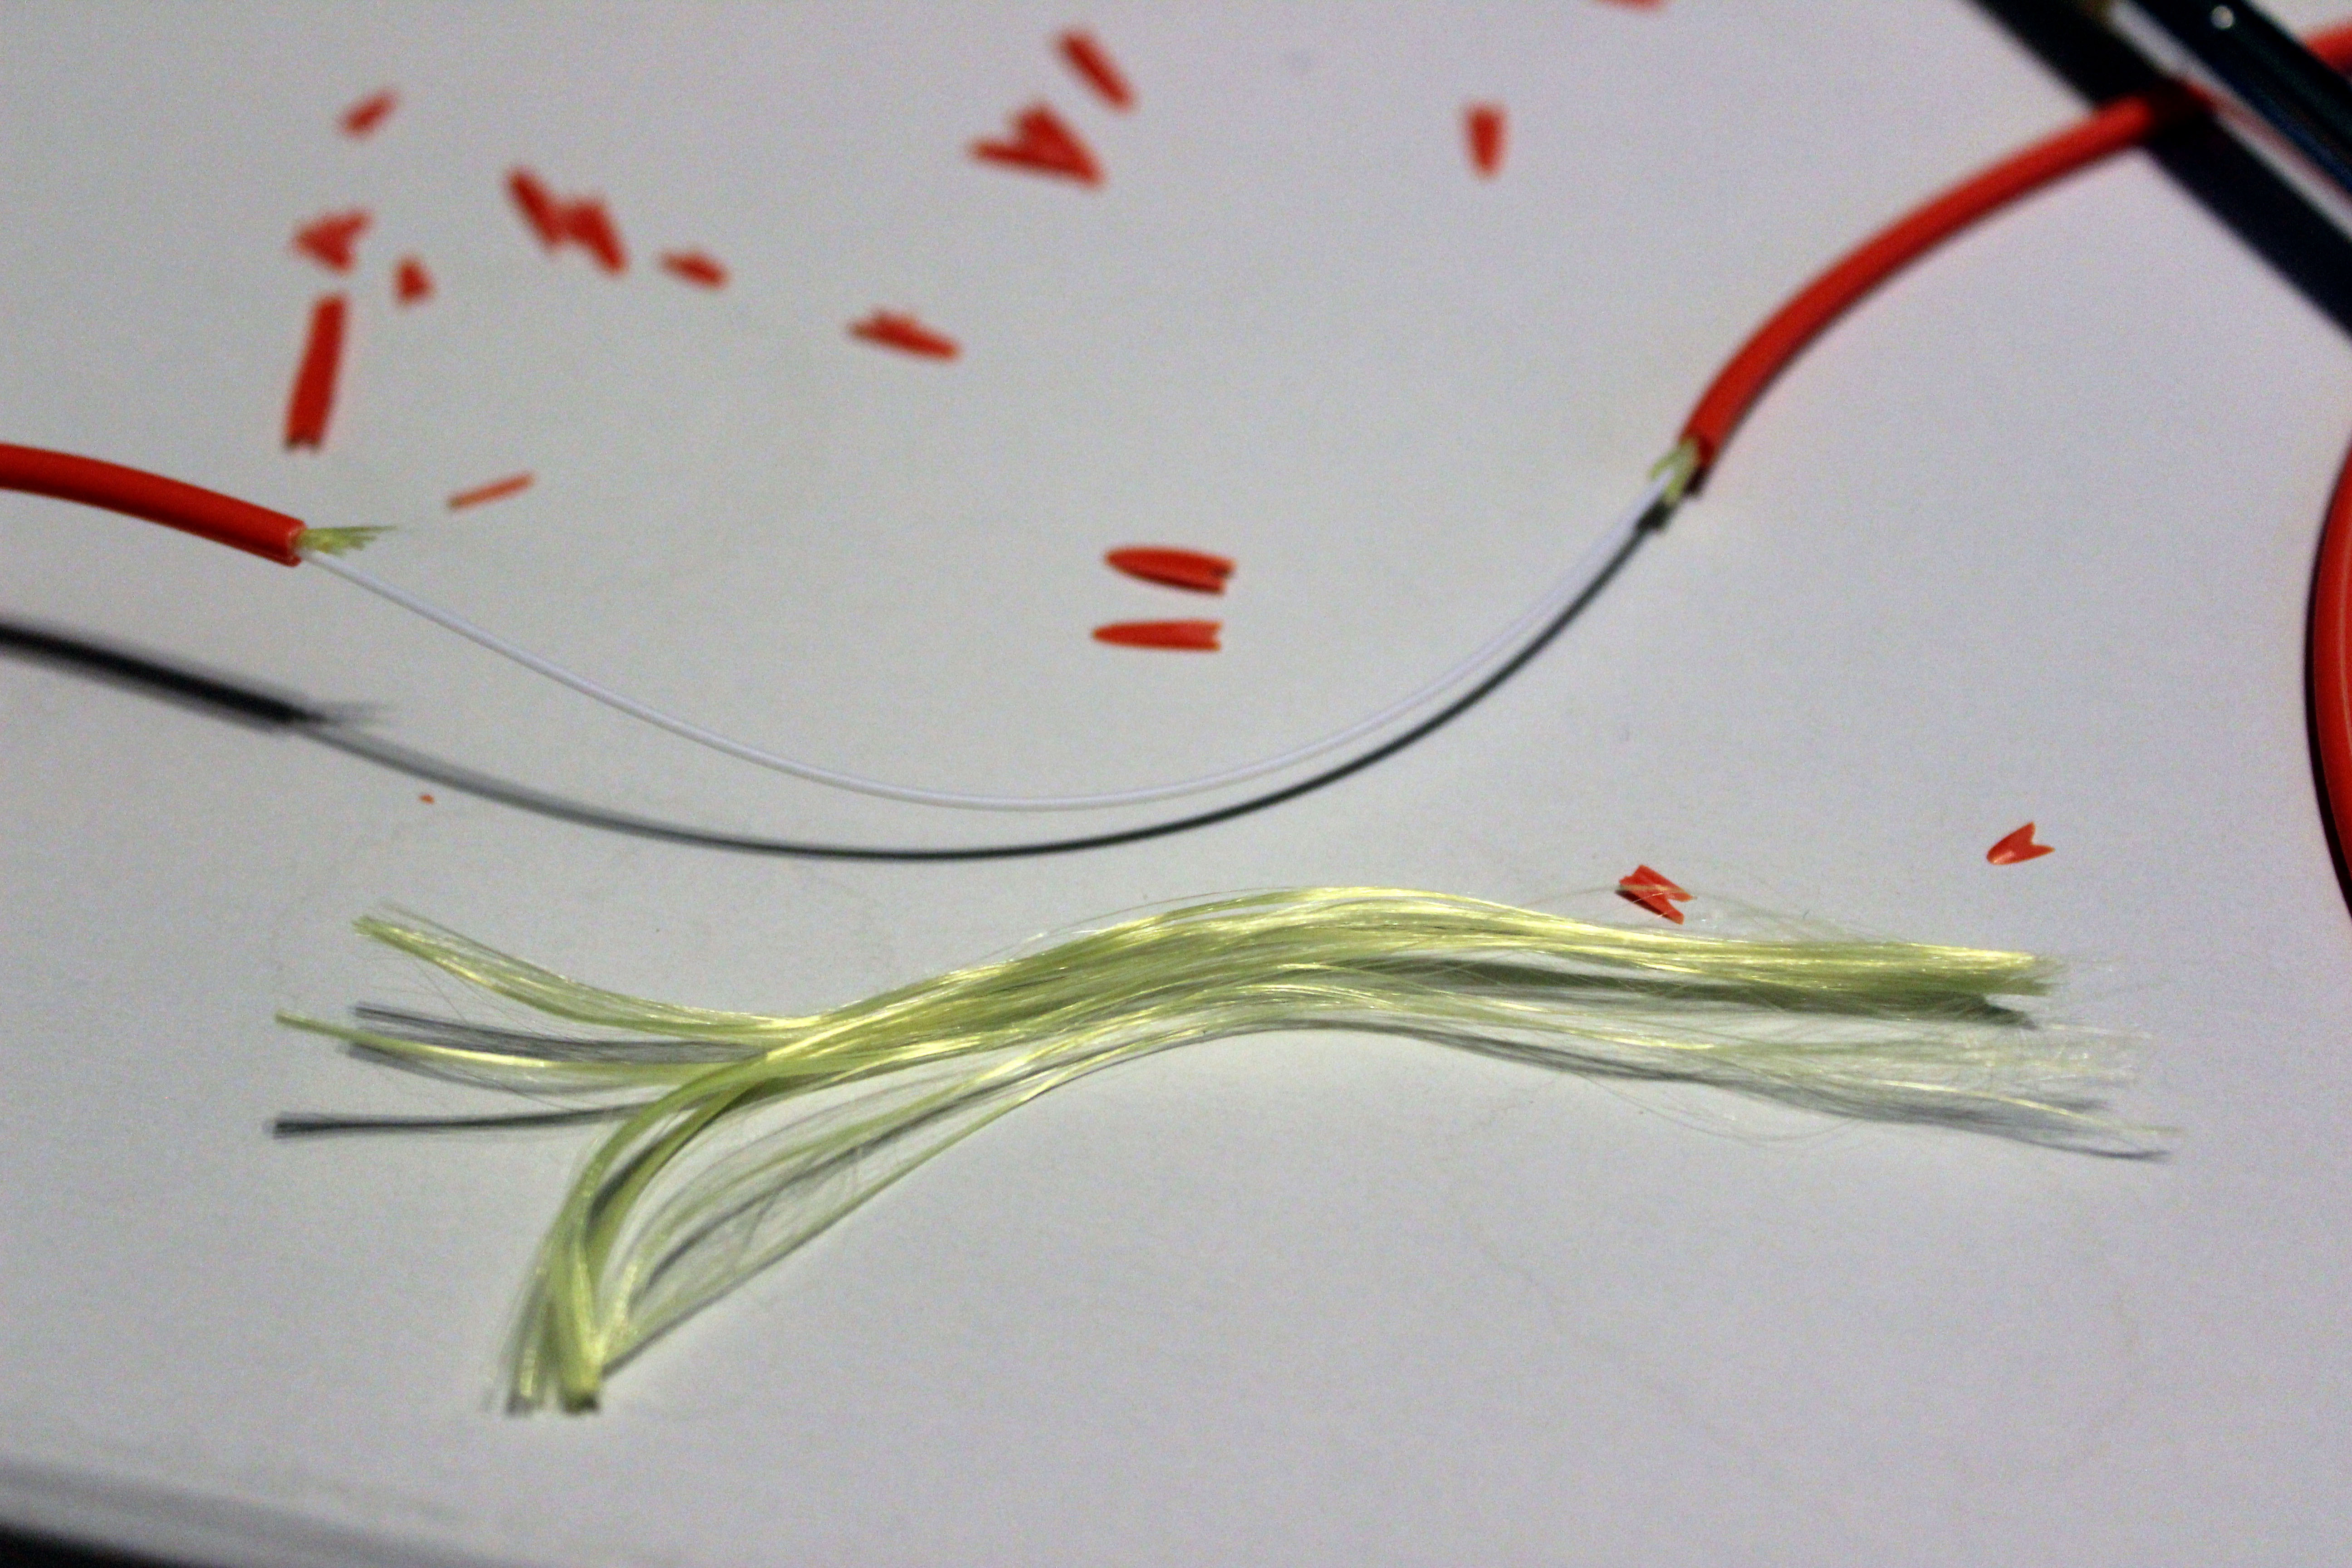
Again, use the X-ACTO knife and cut the Kevlar fibers down to where the outer jacket is still present.
Now, we are where I struggled for a while. This layer as mentioned in my previous post is 250μm and provides some protection to the cladding and fiber inside. When I first thought of how to tackle this, I tried to remove the buffer/coating in the same manner in which I removed the jacket, but this lead to a lot of broken fiber. I’m sure it’s not impossible, but the cladding and fiber are made of glass and like most glass, it's transparent. You cannot see where the buffer stops and fiber begins until it’s too late, so this idea was short-lived. After that, I tried to burn the buffer/coating off. All I ended up doing was destroying the fiber as the heat seemed to make the fiber and cladding incredibly brittle. I feel this would work in a controlled manner with a certain temperature flame, but again, cost effectiveness eliminates certain ideas.
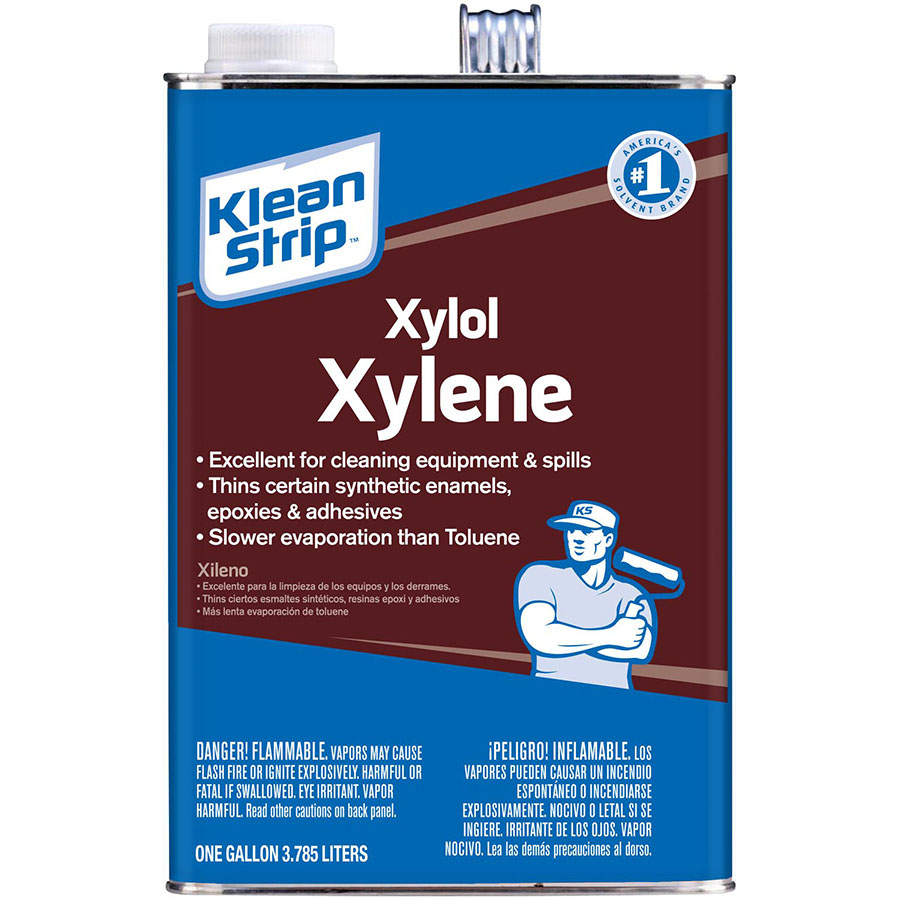
Finally, I wondered if I could soften the buffer/coating to the point where I could just pull it out of my way. All I needed to know was what the buffer/coating was made of. I would imagine under normal circumstances this would easily accessible information. But in my case, I had to make multiple phone calls to the manufacturer of my cable to get an answer. In the end, I was told the buffer/coating was a material known as Acrylate. This was great as a solvent to Acrylate is a readily available chemical known as Xylene. A liter or so of Xylene can be picked up from Amazon or any home improvement store.
I am by no means a chemist and barely know anything about chemistry, but it’s my assumption that Xylene works so well here because it is petroleum based and the buffer that I am working with is synthetic. This is important because solvents that are close on a molecular level to the substance they are interacting with are much more effective than those not. Feel free to correct me if I am wrong.
What we need to do now is also determine the material the cladding is made of. As mentioned in my last post, the quality of the fiber optic cable determines the materials inside. More expensive cables tend to have an all glass core, meaning the fiber is glass as well as the cladding. Some mid-range cables have a glass core and a plastic based cladding. Then, on the cheaper end you can have a plastic core, though those tend to be special cases and are much larger in diameter when compared to a glass fiber. I bring this up because if your cladding is plastic, then the Xylene is going to affect it adversely, and we do not want nor need that. So make sure!
Now that you have confirmed that your cladding is glass we can move on. You will need a small glass bowl and you will want to pour enough Xylene in it to submerge the buffer/coating completely. However, before we start waterboarding our cable, There is another step. Right now, the buffer/coating is kind of stiff and will not stretch. This is good for the purposes of the cables intended function, however, that will prove annoying if you were to score the buffer/coating (only referring to it as buffer from now on) and try to pull it apart and expose the cladding.
We need to expose at least an inch and a half of cladding and as the buffer sits now, that is impossible. This is where the Xylene comes into play. The Xylene will soak into the buffer and after a few minutes will become very rubbery. But, if we do not score the buffer before we submerge it in the Xylene, it will be too soft and the strippers won’t have any resistance to make a score. This goes back to me having to make sure the cladding is glass since we are going to score the buffer in a couple spots before we submerge it. If it cladding was plastic, then the Xylene would absorb into the cladding and it too would become rubbery and its optical properties would be lost.
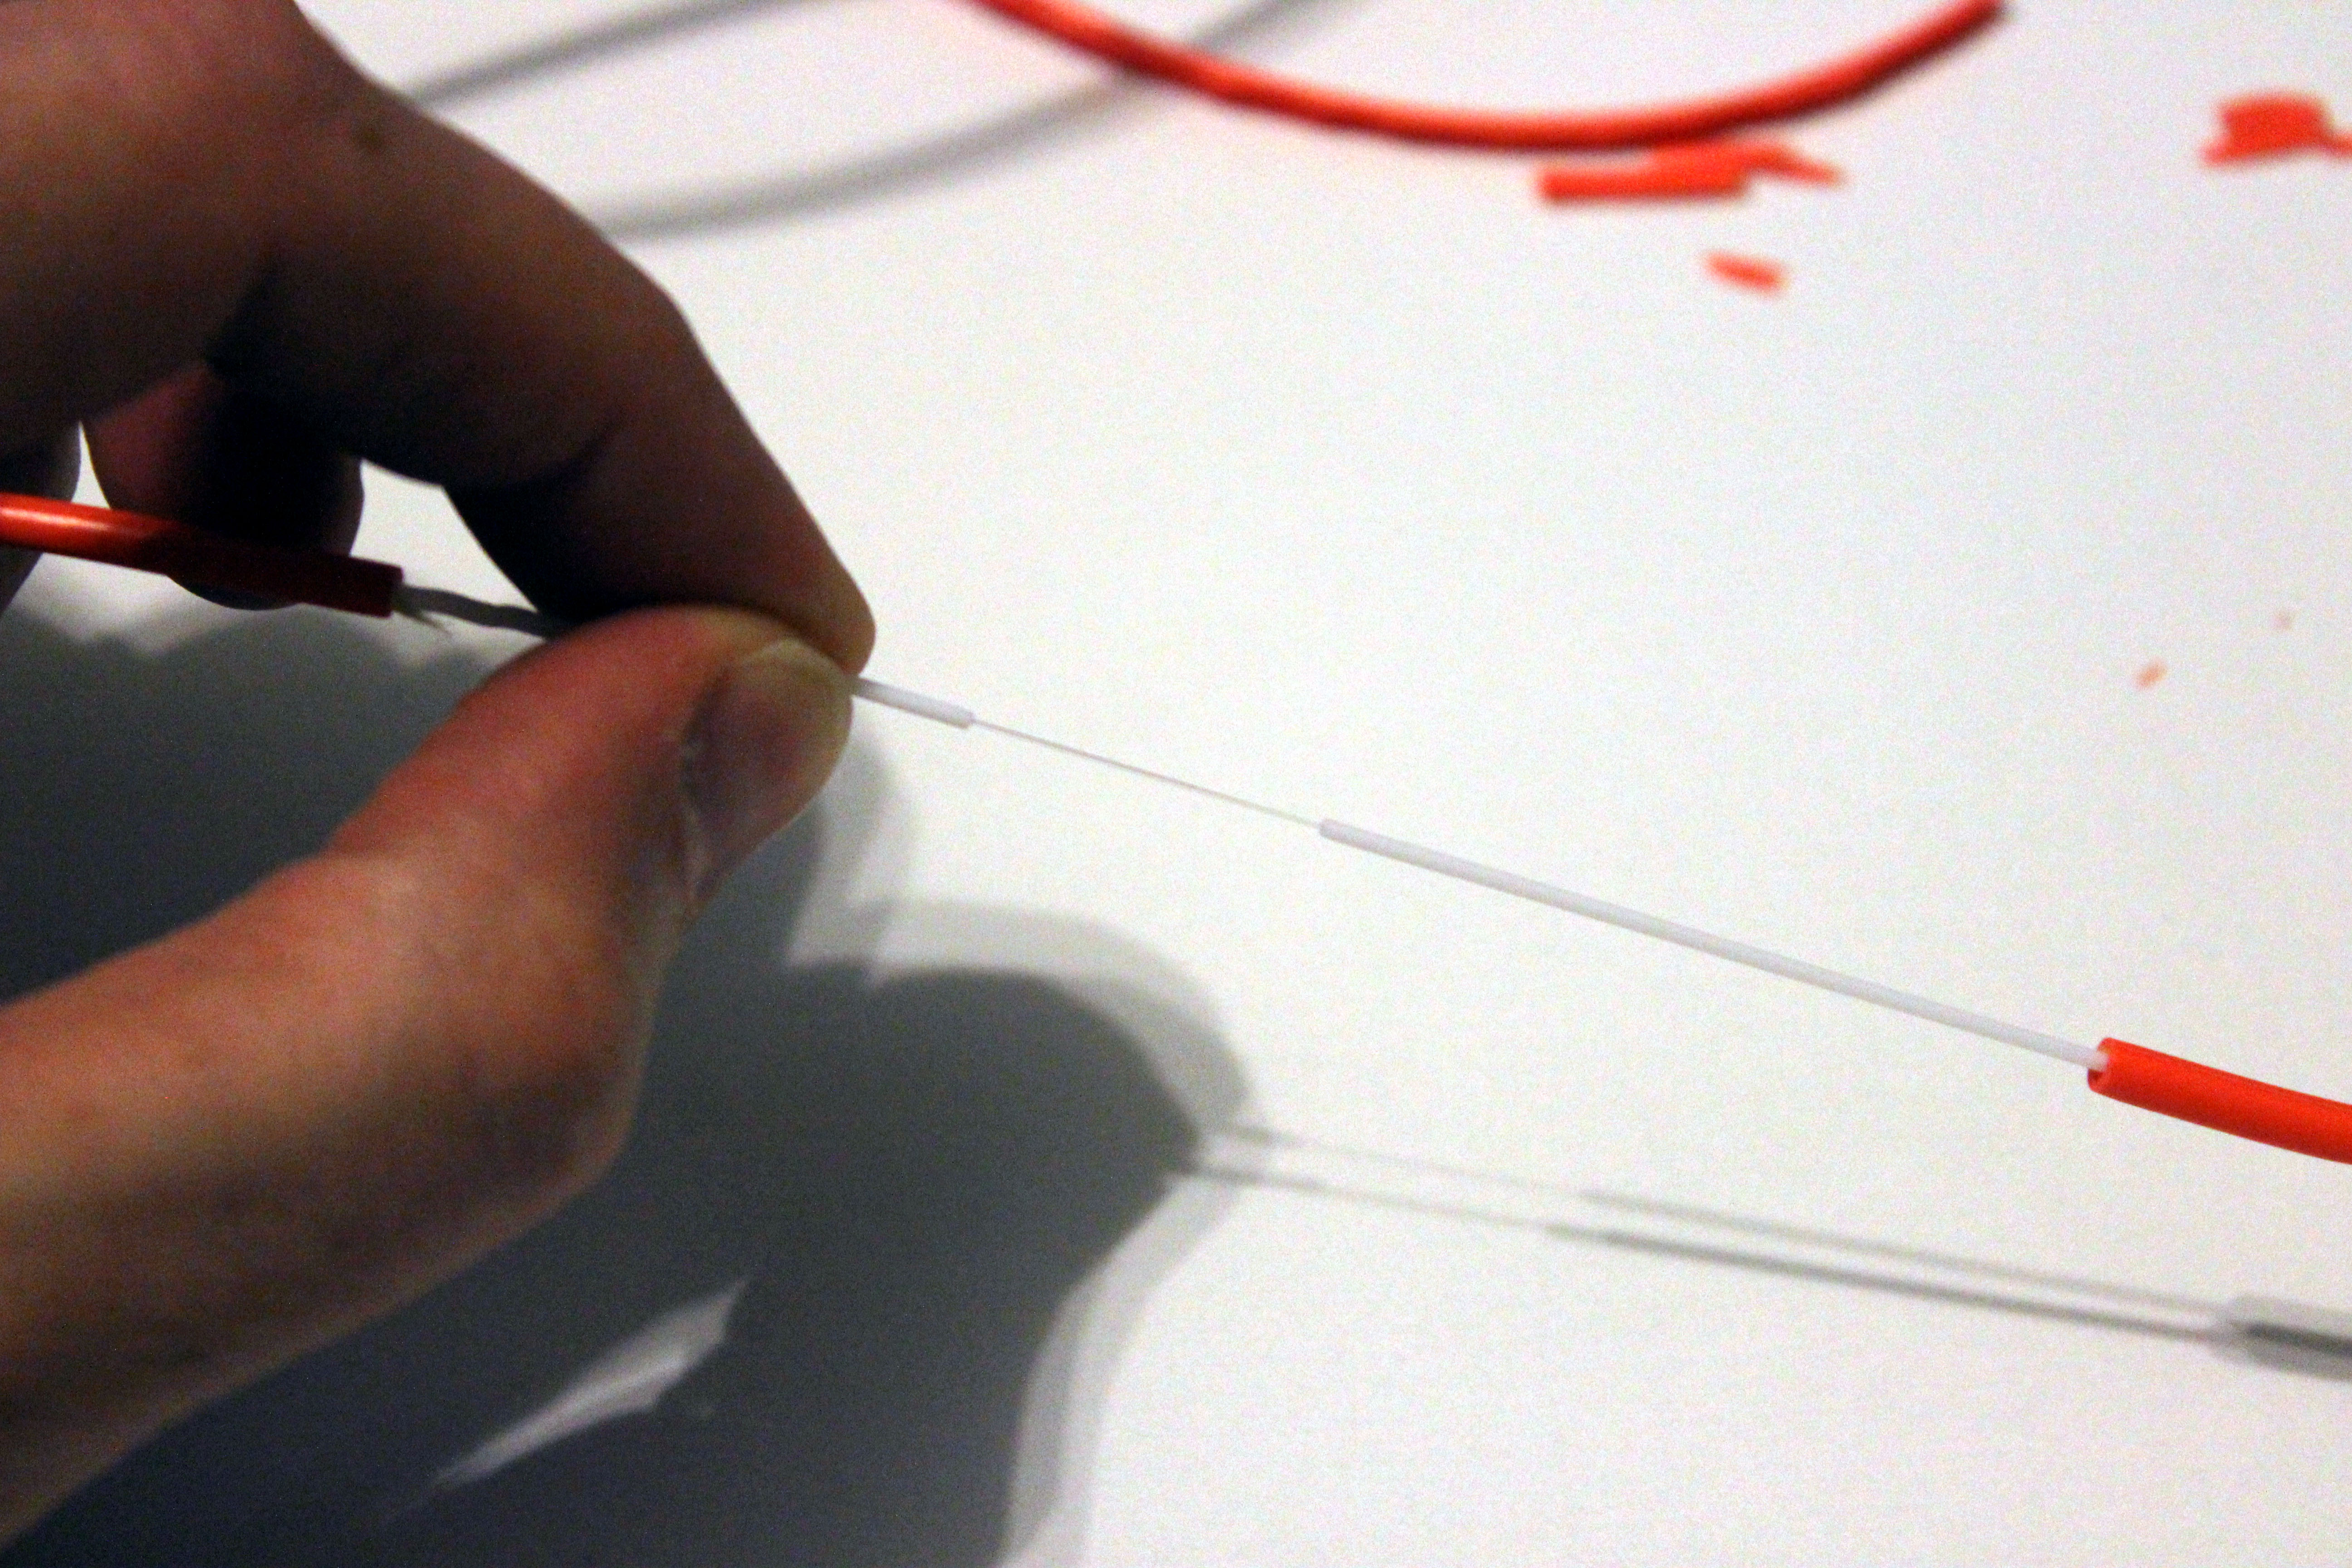
As I said, I will make a few more scores in the buffer, about a half an inch apart. Now take the buffer and place it in the Xylene for about fifteen minutes.

When you remove the buffer from the Xylene be careful not to get any on your skin; it’s a very strong chemical and could cause some irritation. You will need to get the excess Xylene off of the buffer and right now you can use some paper towels. Do not get used to that though (I'll explain later). Now that the cable is dry give a slight tug on the buffer, it should be much more rubbery than it was before. If not, then just let it sit for a few more minutes, it will soften up.
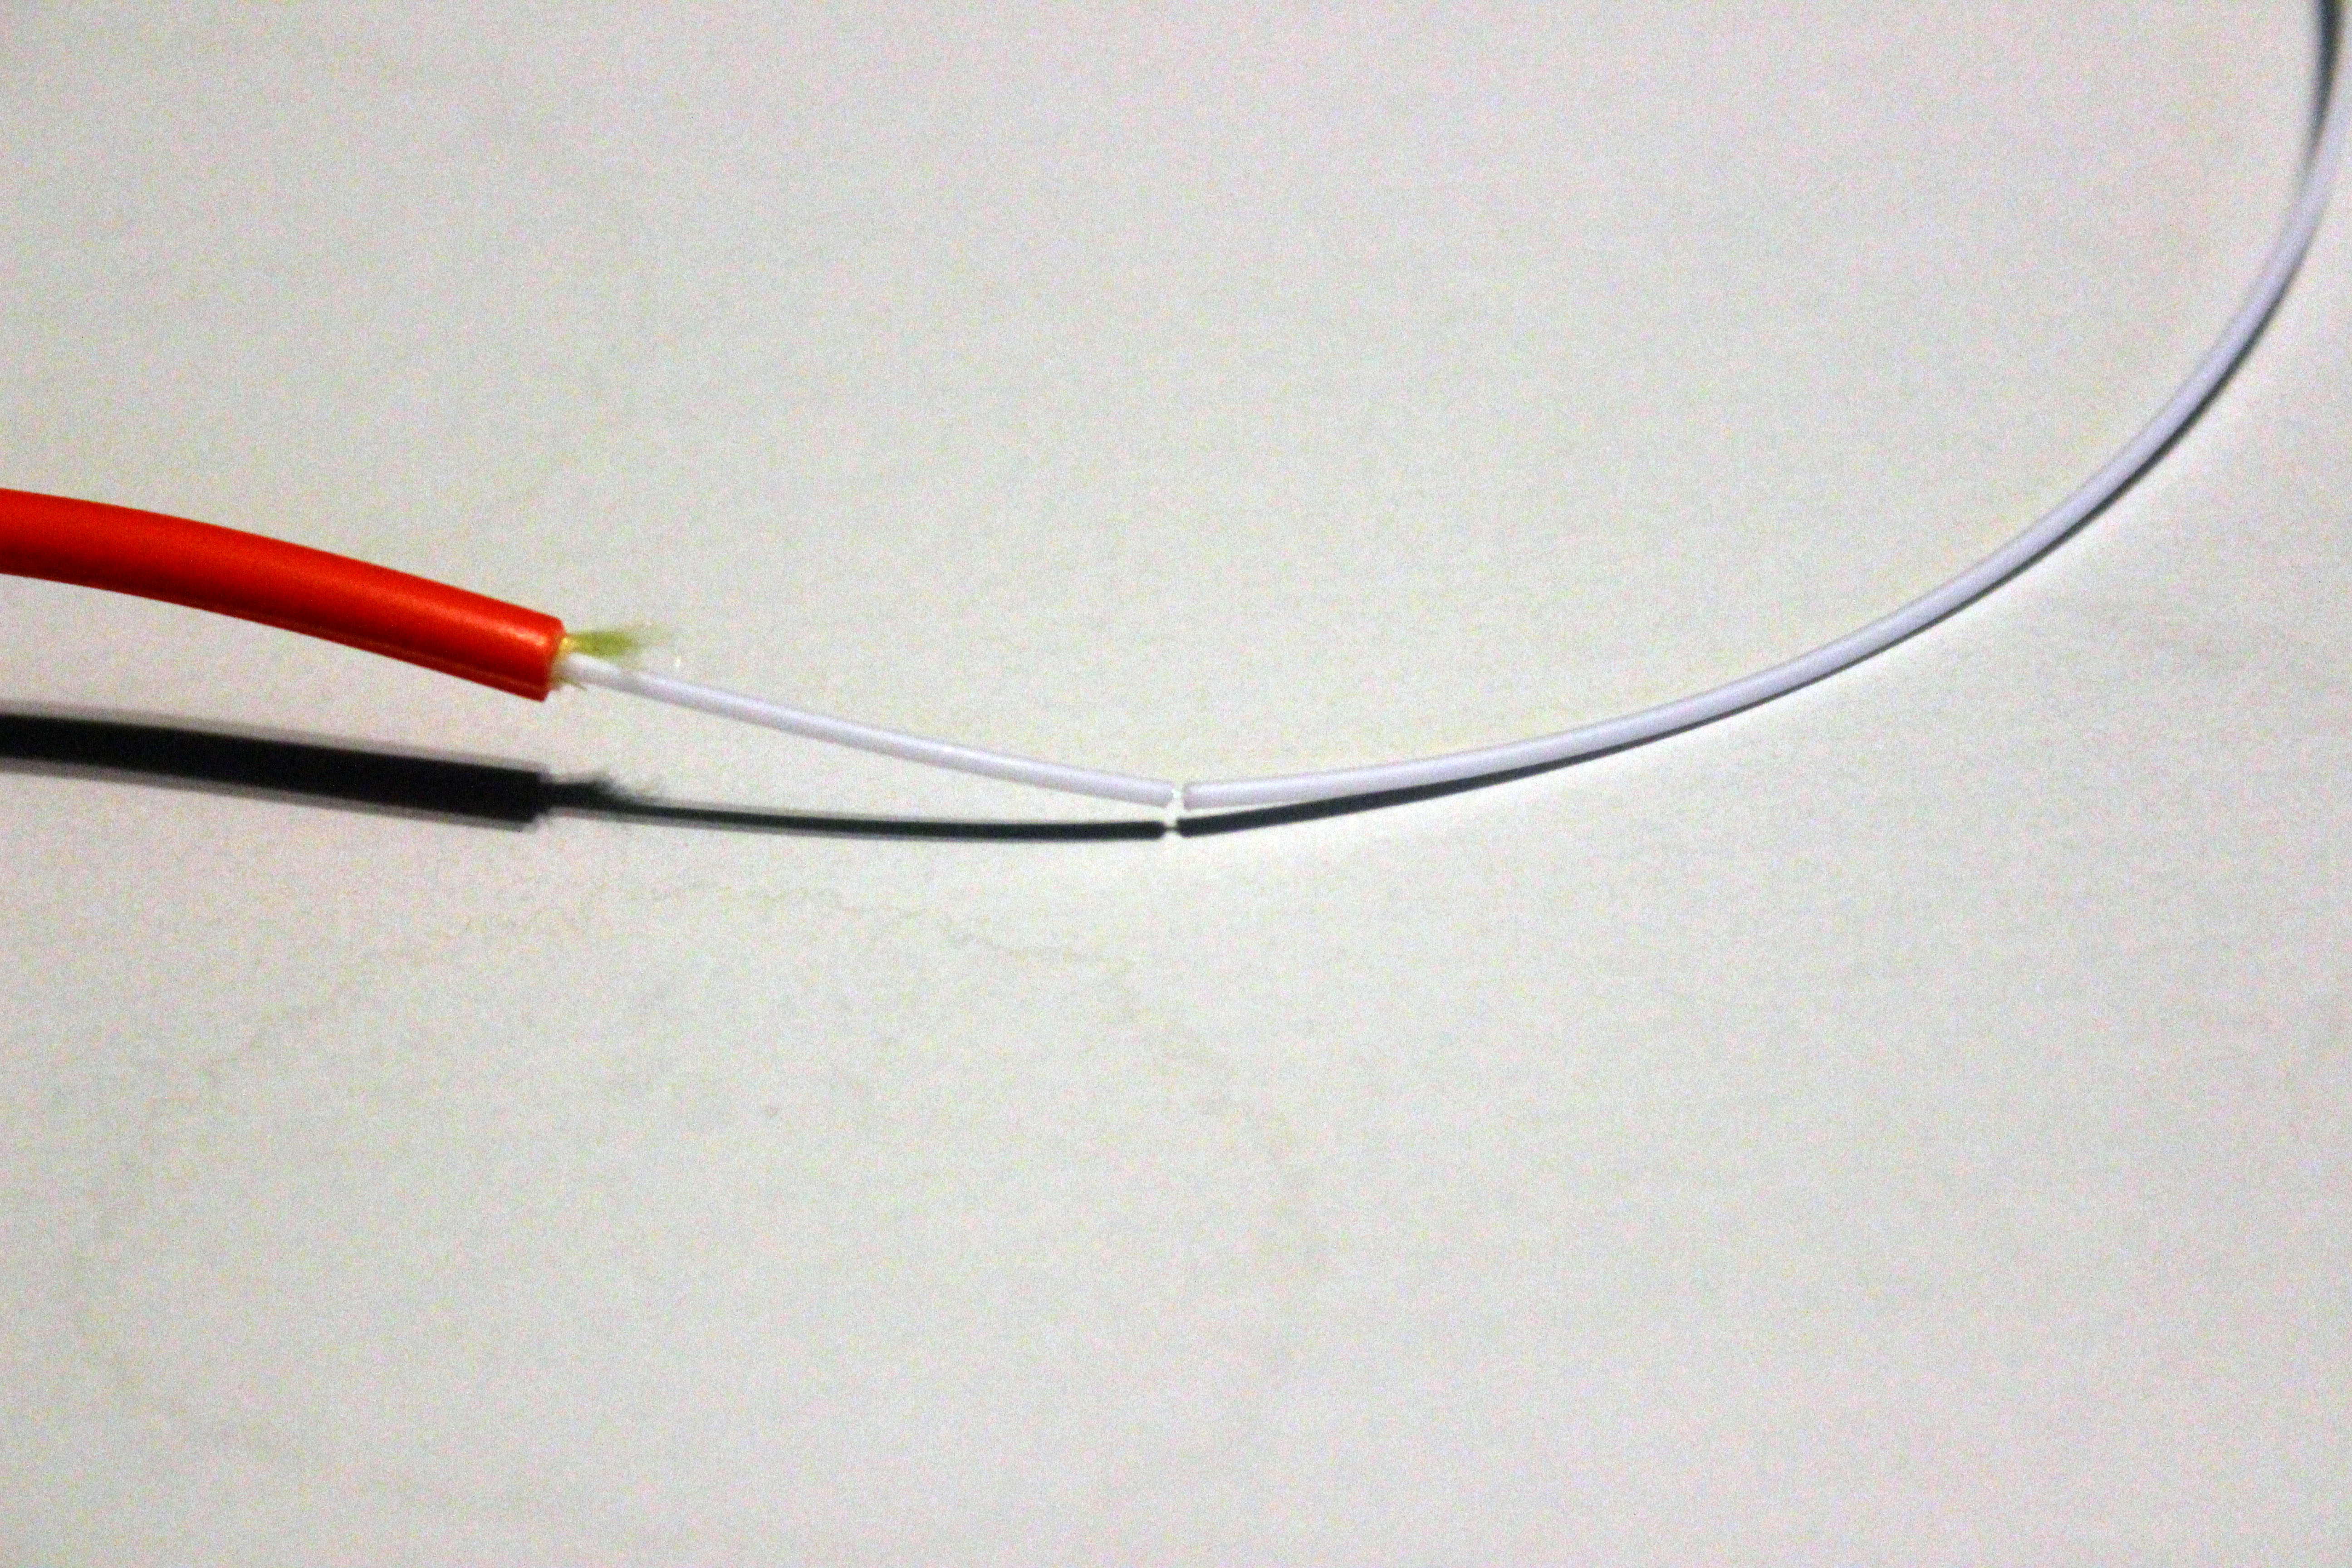
Once it softens up, you will be able to see how much more the buffer will retract back and you can expose larger sections of the cladding. At this point, you have successfully opened a fiber optic cable mid-span with zero damage to the cladding. I will cover the tapping setup and execution in my next post.